 As much as I love a huge walk-in closet, with shoe walls to perfectly align, Hermes bags to display and filling top-to-bottom shelves with labeled baskets, my creativity kicks into overdrive when I’m organizing a smaller space. My extremely talented photographer friend, Nicole LaMotte, invited me into her sacred space and we co-created her dream closest. See how we elevated the look with a few simple updates.
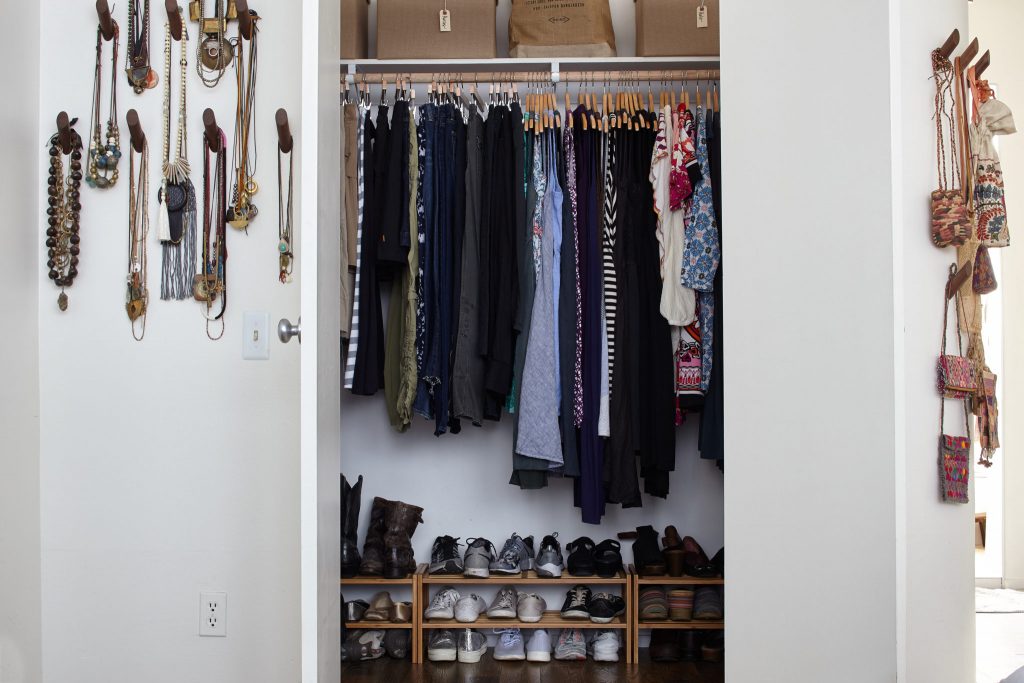
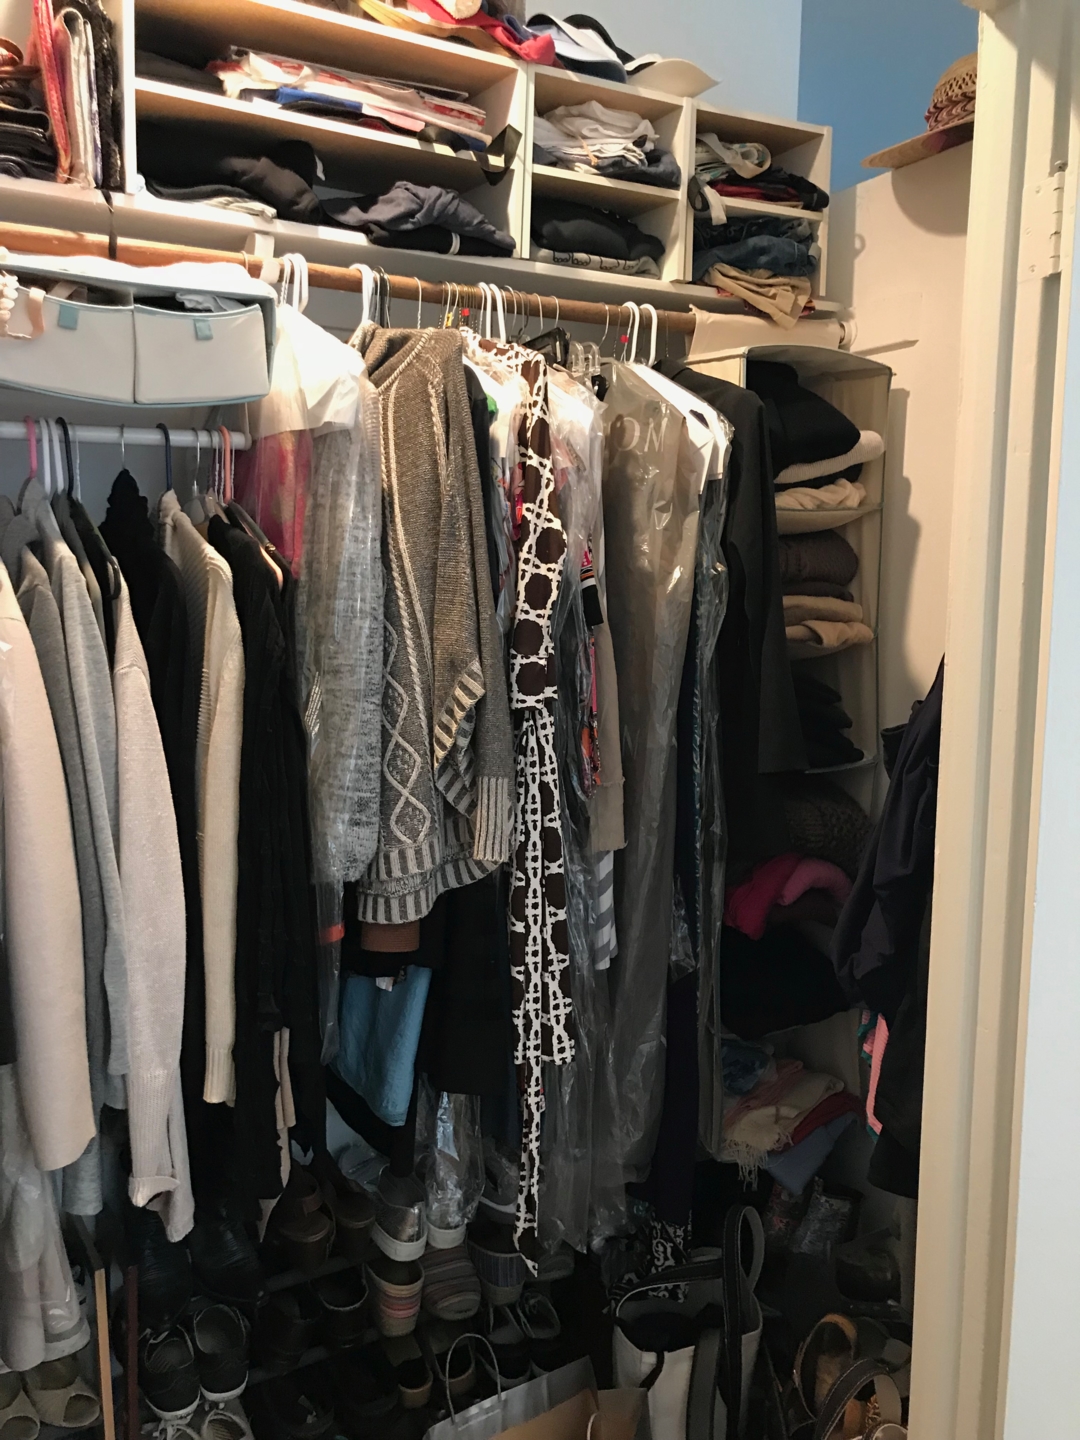
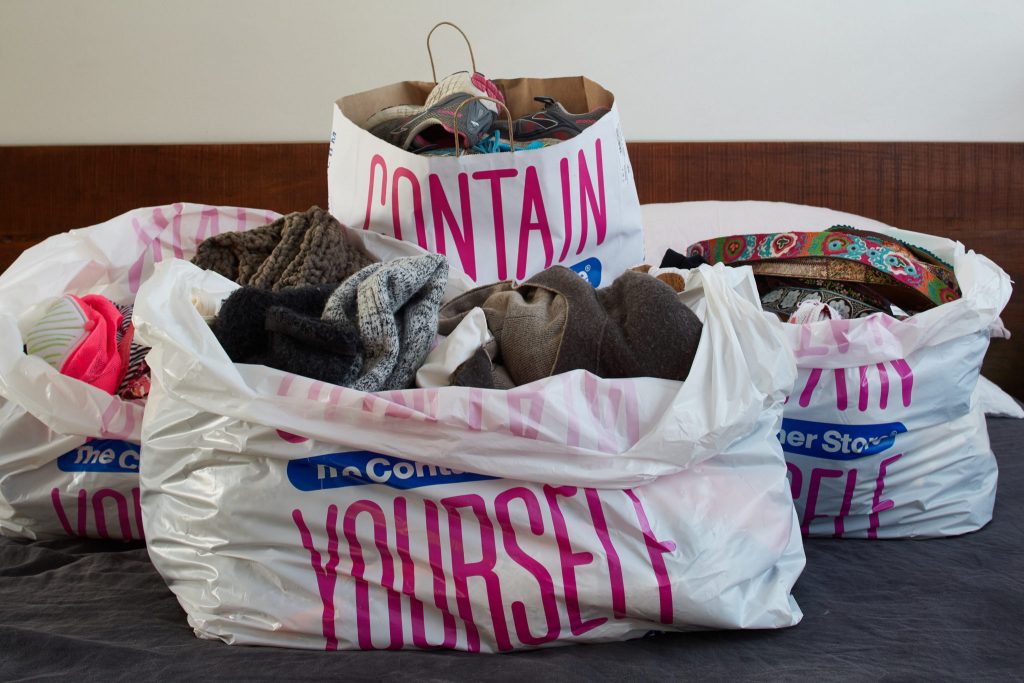
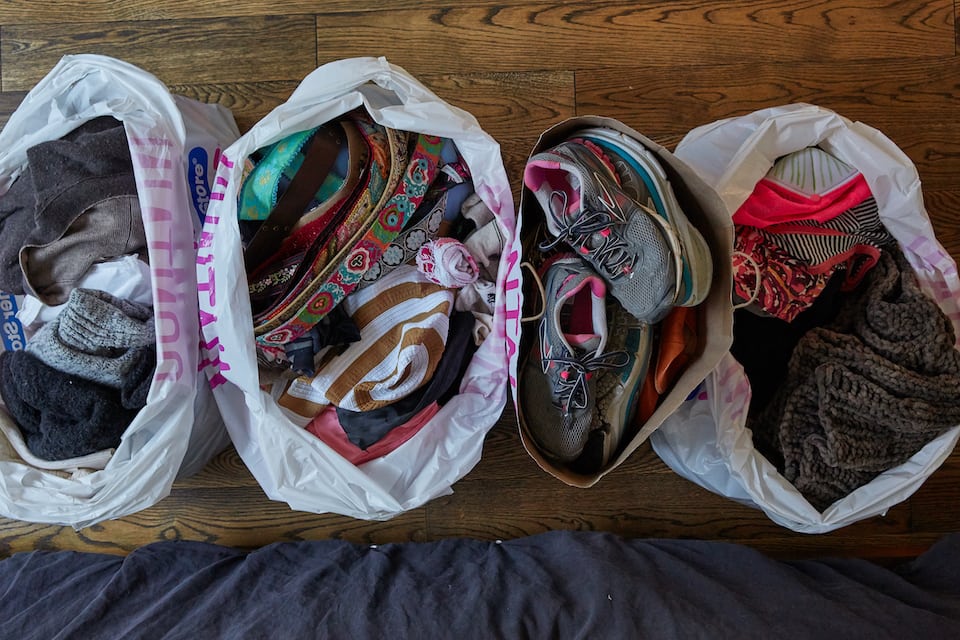
before

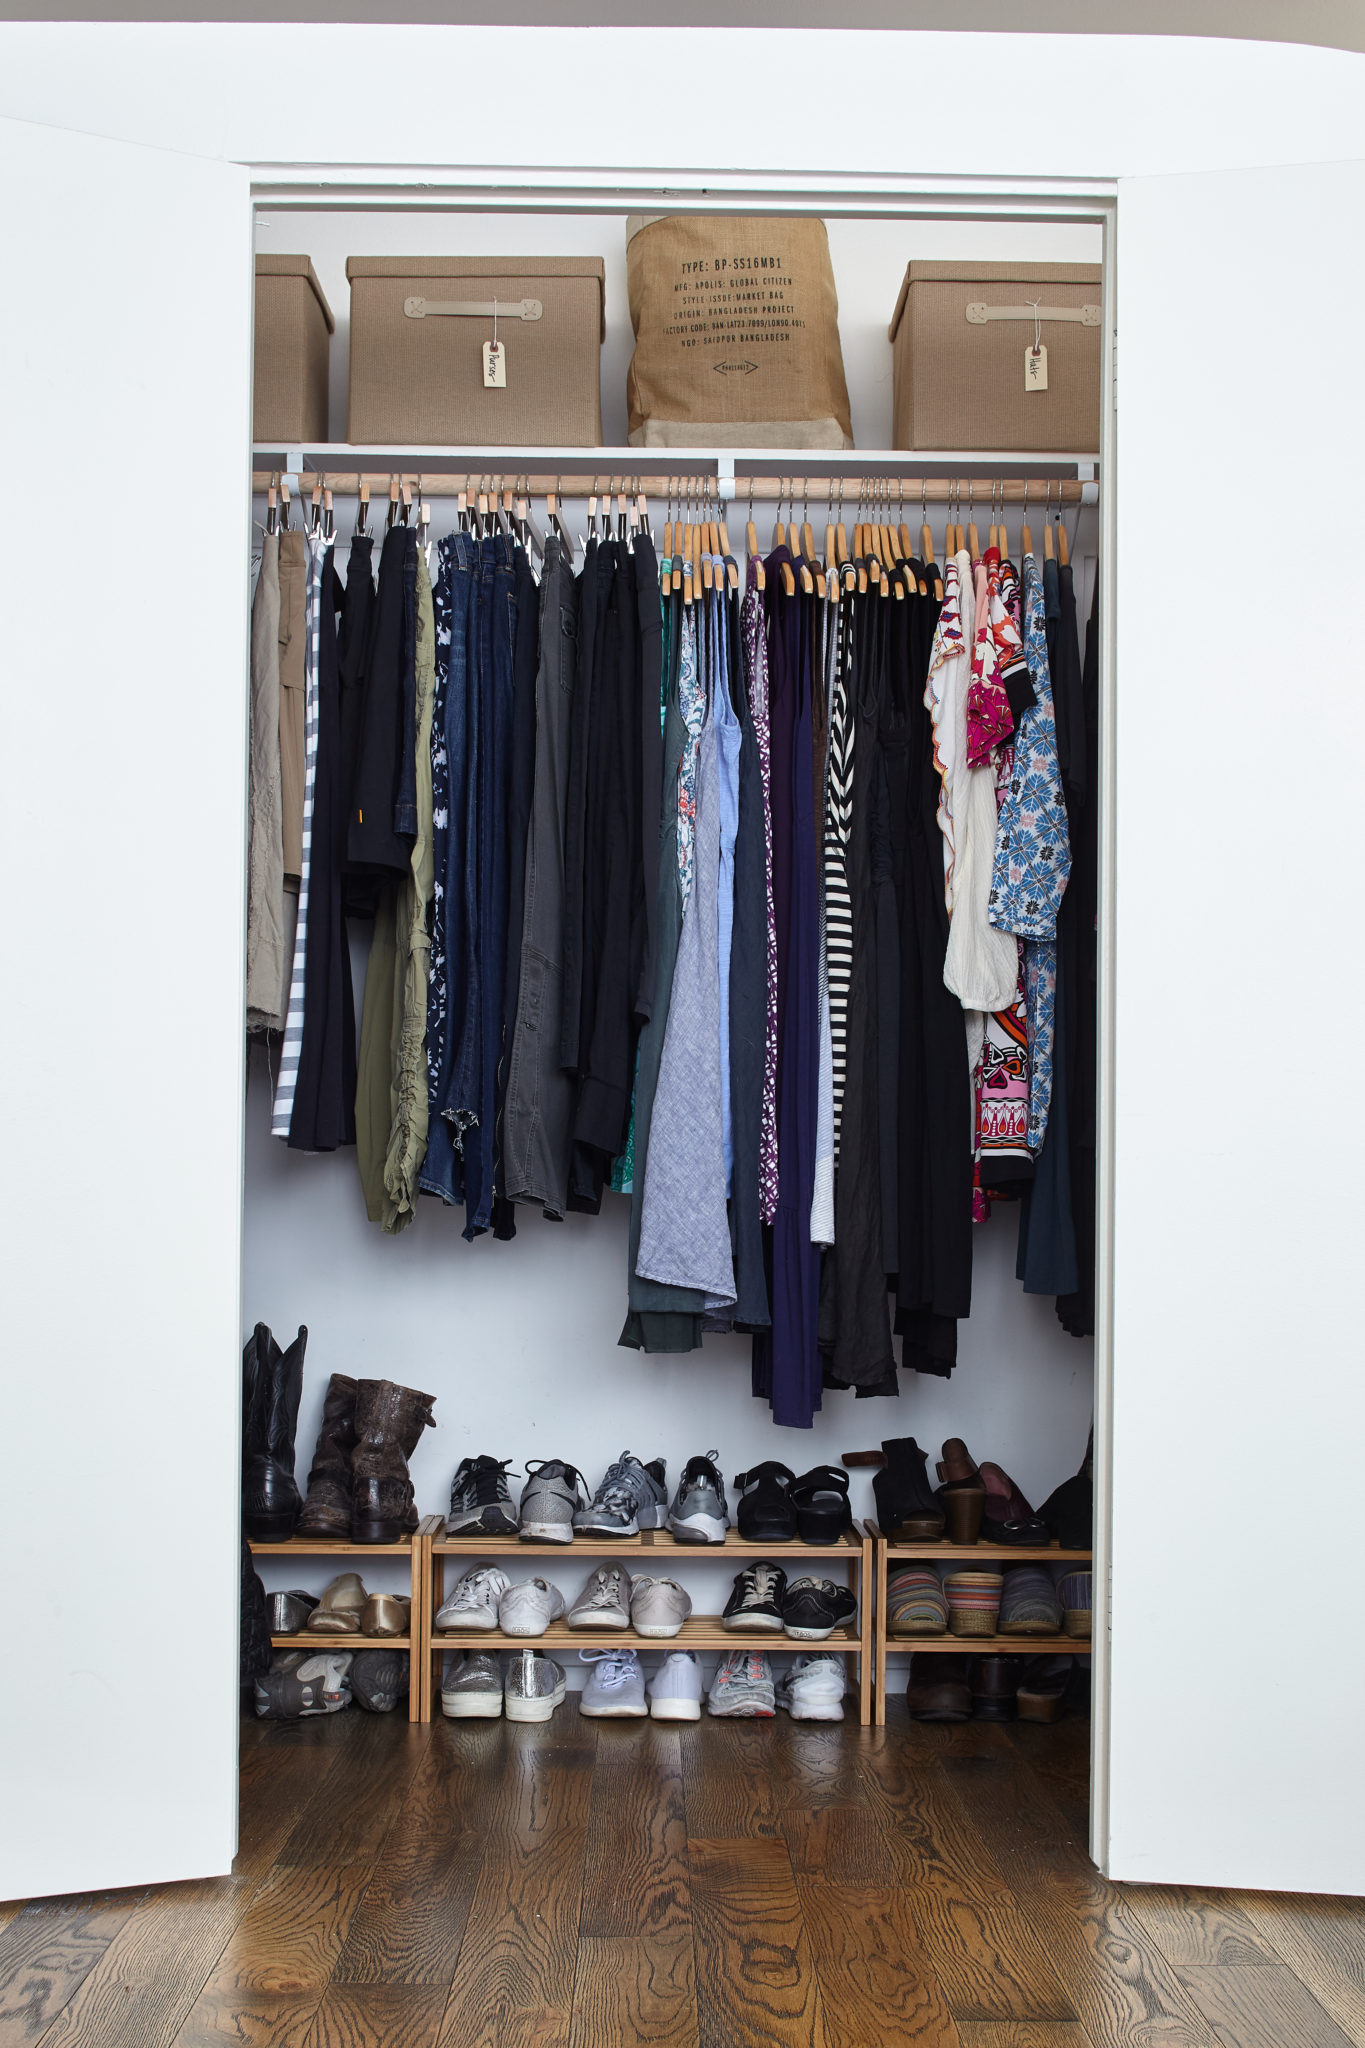
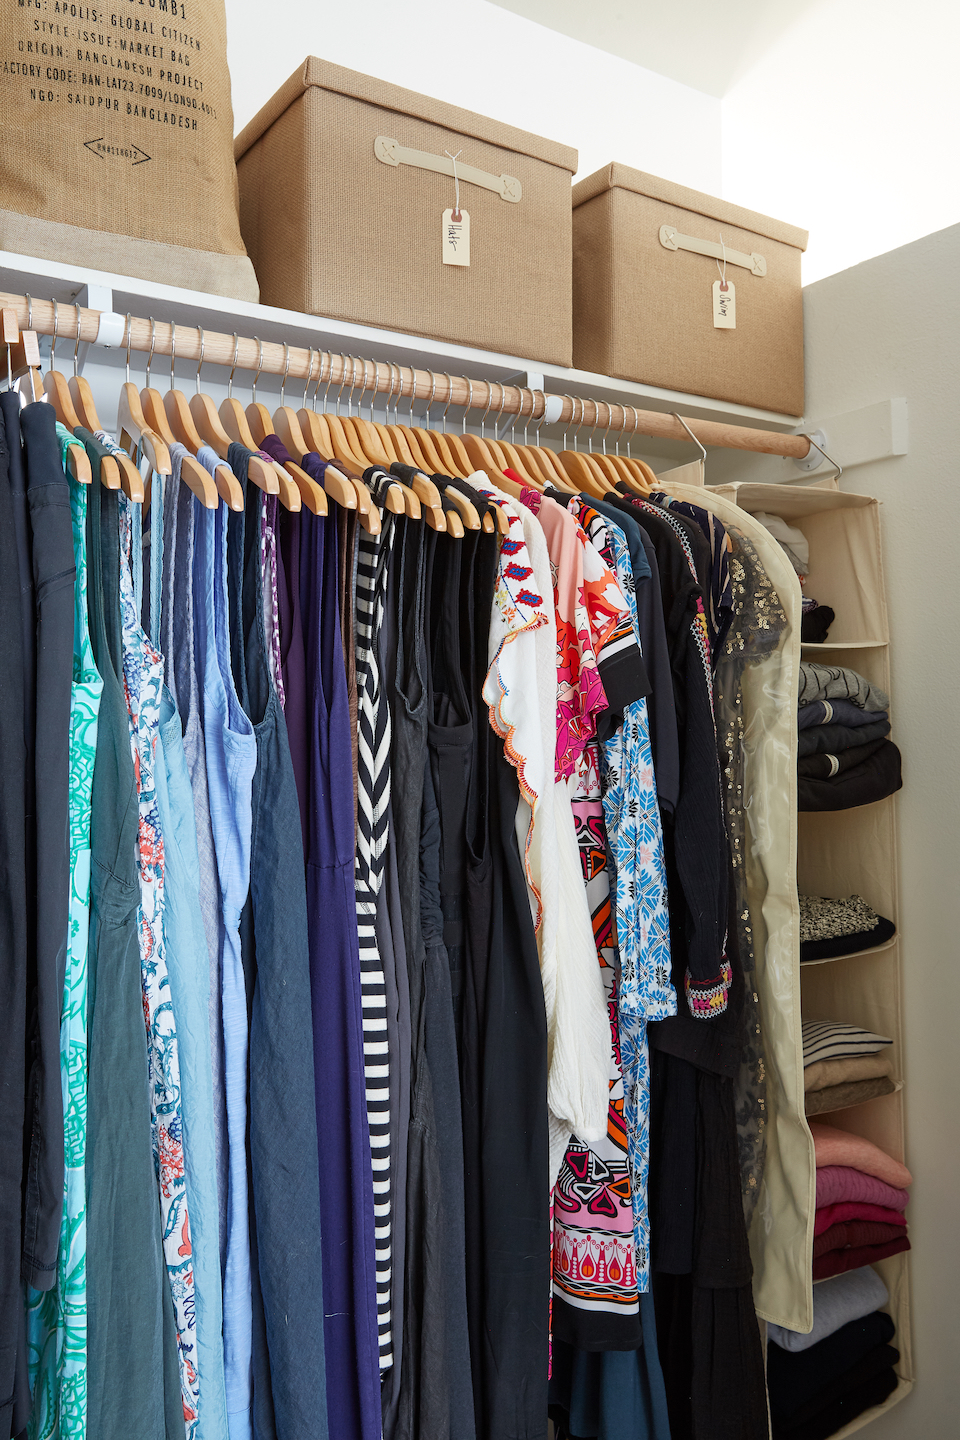
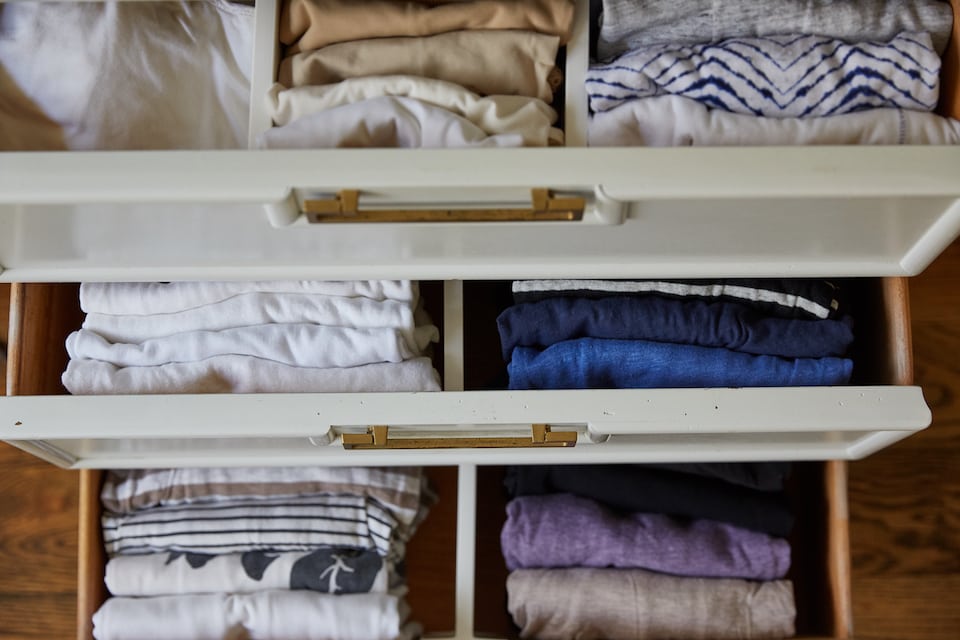
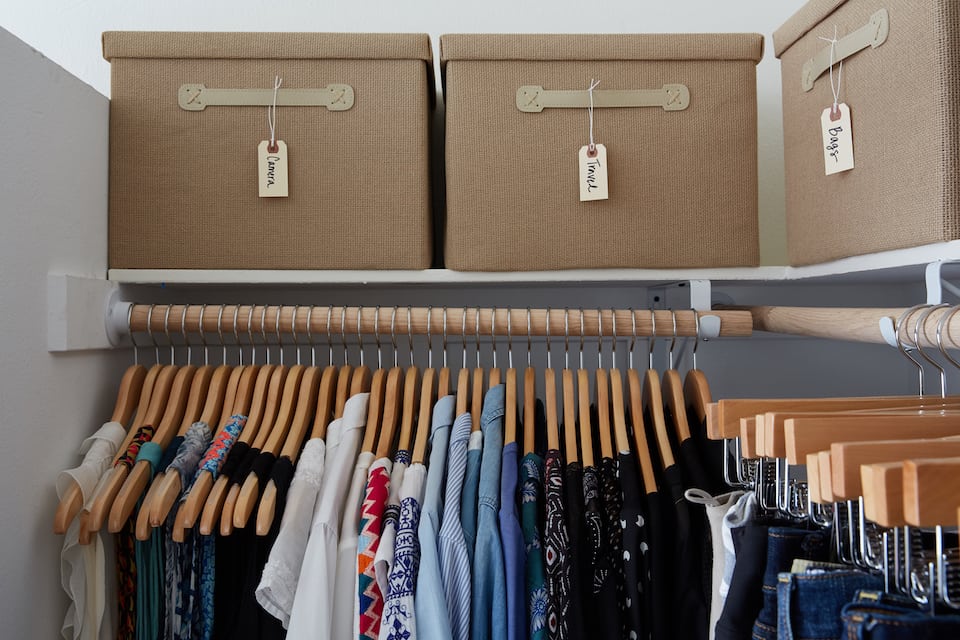
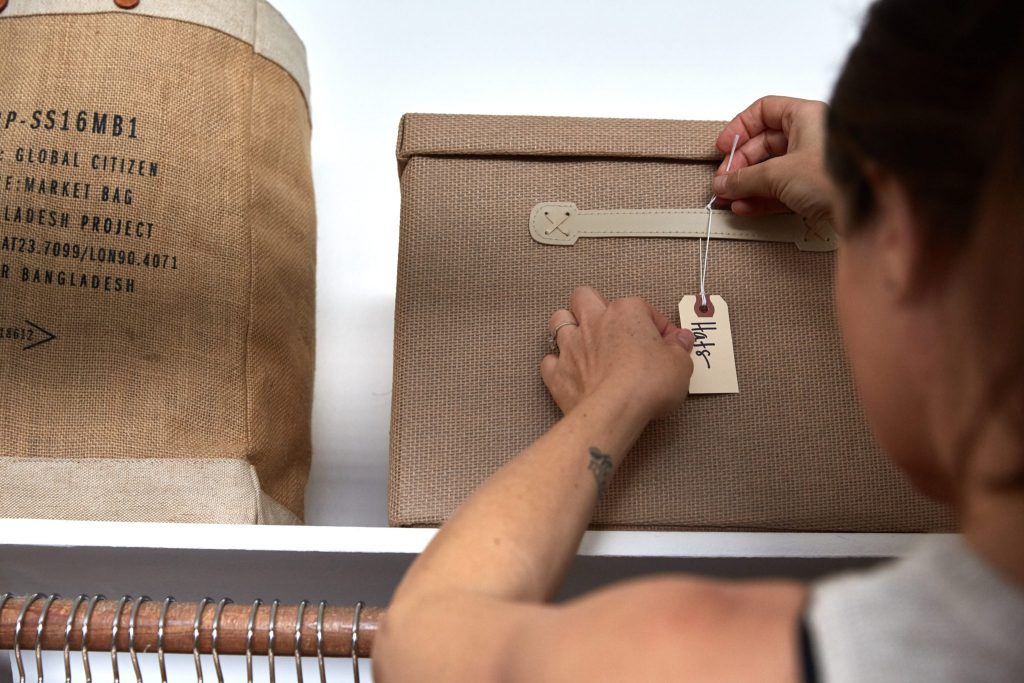
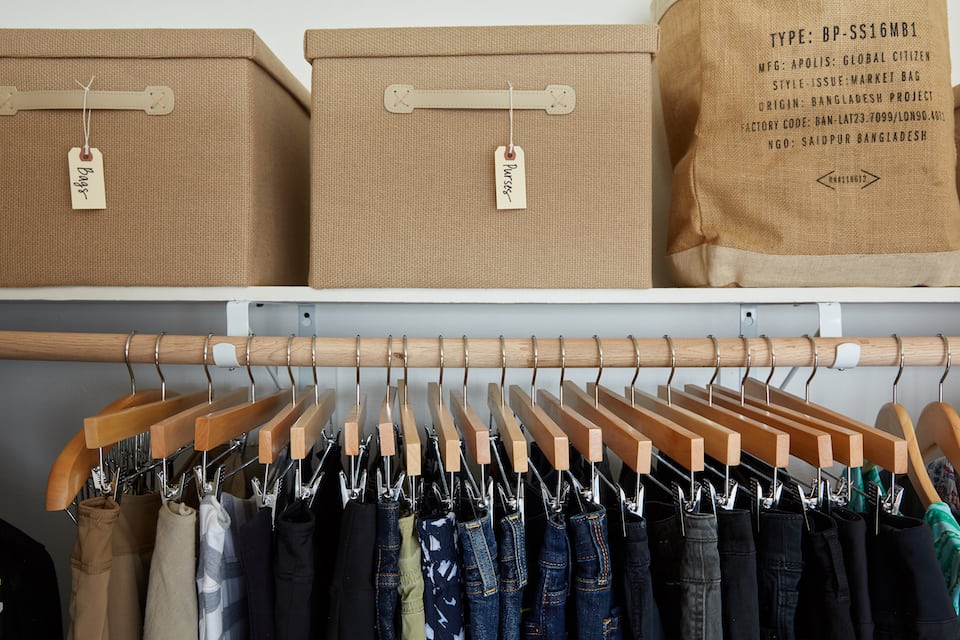
after
We asked Nicole what inspired her desire to elevate her closet and what it was like working with the Clutter Healing® team. To be totally transparent, even a smaller closet requires hours of shopping, planning and a whole lot of elbow grease. I’m going to show you we did it but please keep in mind that it took about two solid days of shopping, planning, editing and installing to get this closet in shape. Any organizing project requires an investment of time, money and energy. Like most things in life, what you put into it is what you will get out of it. If you are willing to do the work, make the tough decisions and maintain your new space, you will be amazed at how other areas of your life are positively impacted.
THE GAME PLAN
Any successful project starts with the end in mind. I’ve outlined below an organization project guideline that can be implemented no matter what space you are tackling.
- Identify the problems – What is bothering you the most about your closet? Is it too cramped? Do you not have clearly defined drawers or shelfs for each category? Do you feel like you have nothing to wear? Does the look and feel of your closet leave you uninspired? Knowing what isn’t working is a critical part of this process. Make a list of every single thing that drives you nuts!
- Define your goals – Ask yourself what your ideal closet space would contain at the end of the process. Maybe your heart desires shoe racks or shelves. Maybe you need labeled baskets for off-season clothing. Do you want to know how to file fold and have a system for putting the clean clothing away? Whatever you WANT and NEED write it all down. You may have to give up a few wants and stick with the needs if you are working within a budget, however, I always encourage my clients to list out every single items they would like to see come to life. We can always modify!
- Choose a color palette and overall design style – Get to Pinning! Once you define your style it will be so much easier to source supplies!
- Create a supply budget – Organizing supplies are not cheap, but they can be curated consciously. Also keep in mind whether or not you would like to use eco-friendly products or not. Earth conscious products are a bigger investment upfront but they give back for years to come.
- Edit your things – Sort everything in your closet first and then decide what stays and what goes.

- Decide if you are going to sell or donate – Setting up clearly labeled bins or boxes ahead of time will help streamline the process. I recommend marking the boxes with tags reading: donate, trash, recycle and sell.
- Order/shop for products AFTER you edit – Save yourself a lot of time, money and energy by shopping AFTER you edit. Your needs will be very different after eliminating the excess. Remember to leave a little extra wiggle room for new items to come in. You may want to consider buying an extra basket or two just in case that particular organizing item is discontinued.
- Clear away the cobwebs both physically and energetically – During Nicole’s process we actually had the clothing bar break just as we were finishing the install. Clearly everything wanted to be replaced! It was a great moment to embrace how impermanent all of life truly is. Do give your closet a little vacuum and wipe down with a damp cloth. Clear out any cobwebs and dust bunnies. If you have any smudging rituals or just enjoy burning sage, now is a great time to do that. Clearing the energy in your closet before you load it up again is a solid foundation to start with.
- Install products – Finally, change all your hangers, label boxes, fold all clothing appropriately for dresser vs. open shelving. Don’t be disappointed if something doesn’t work the way you thought it was going to. We often have several options on hand to work with. You might have to buy a lot of products to get the right fit and then return what doesn’t work.
- Give gratitude to the transformation! You deserve it! – Make sure you give yourself a moment to celebrate all that you have accomplished. It’s the norm to see the imperfections and judge ourselves. It’s really important that you acknowledge yourself for all you have done so far no matter how big or small it may seem.
- Commit to maintaining your new space – This is possibly the most important part of the entire process. You must commit to setting aside time each week to maintaining your new surroundings. As noted earlier, the more you put into it, the more you get out of it. Honor your newly transformed space with a scheduled weekly upkeep and the commitment to keeping it tidy.
Nicole’s experience
What were some of the major problems you were having with your closet?
The biggest problem with my closet was honestly just the crap that was the in there that for whatever reason I was holding on to. And I am good about getting rid of stuff, before this I had a rule about giving something away for everything i brought in to my closet. but the process really helped me purge. something about having a totally objective 3rd party help you completely shed the crap and do it in a very supportive way was totally freeing.
 What kind of look were you going for?

supplies we used:
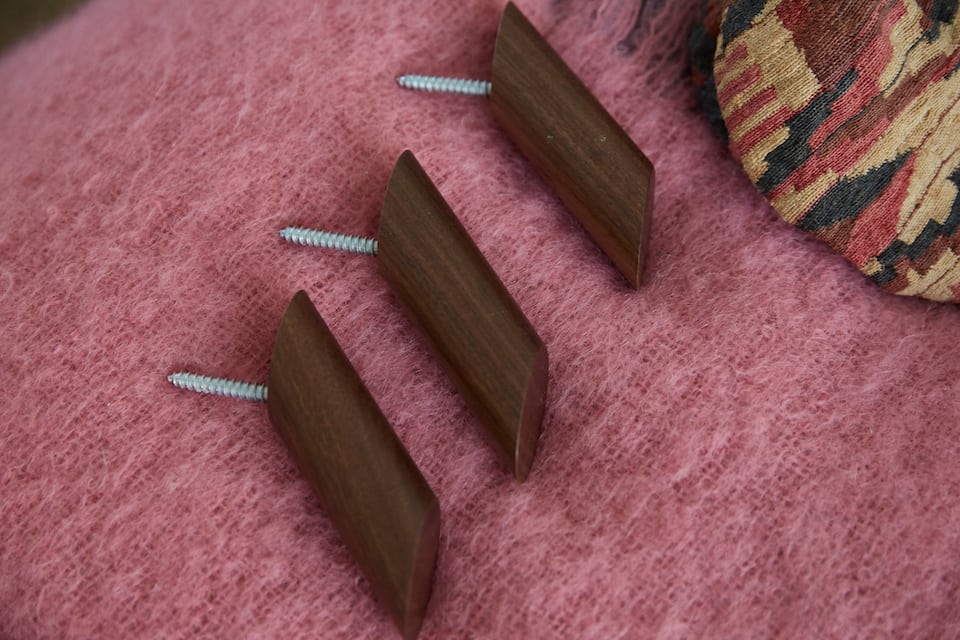
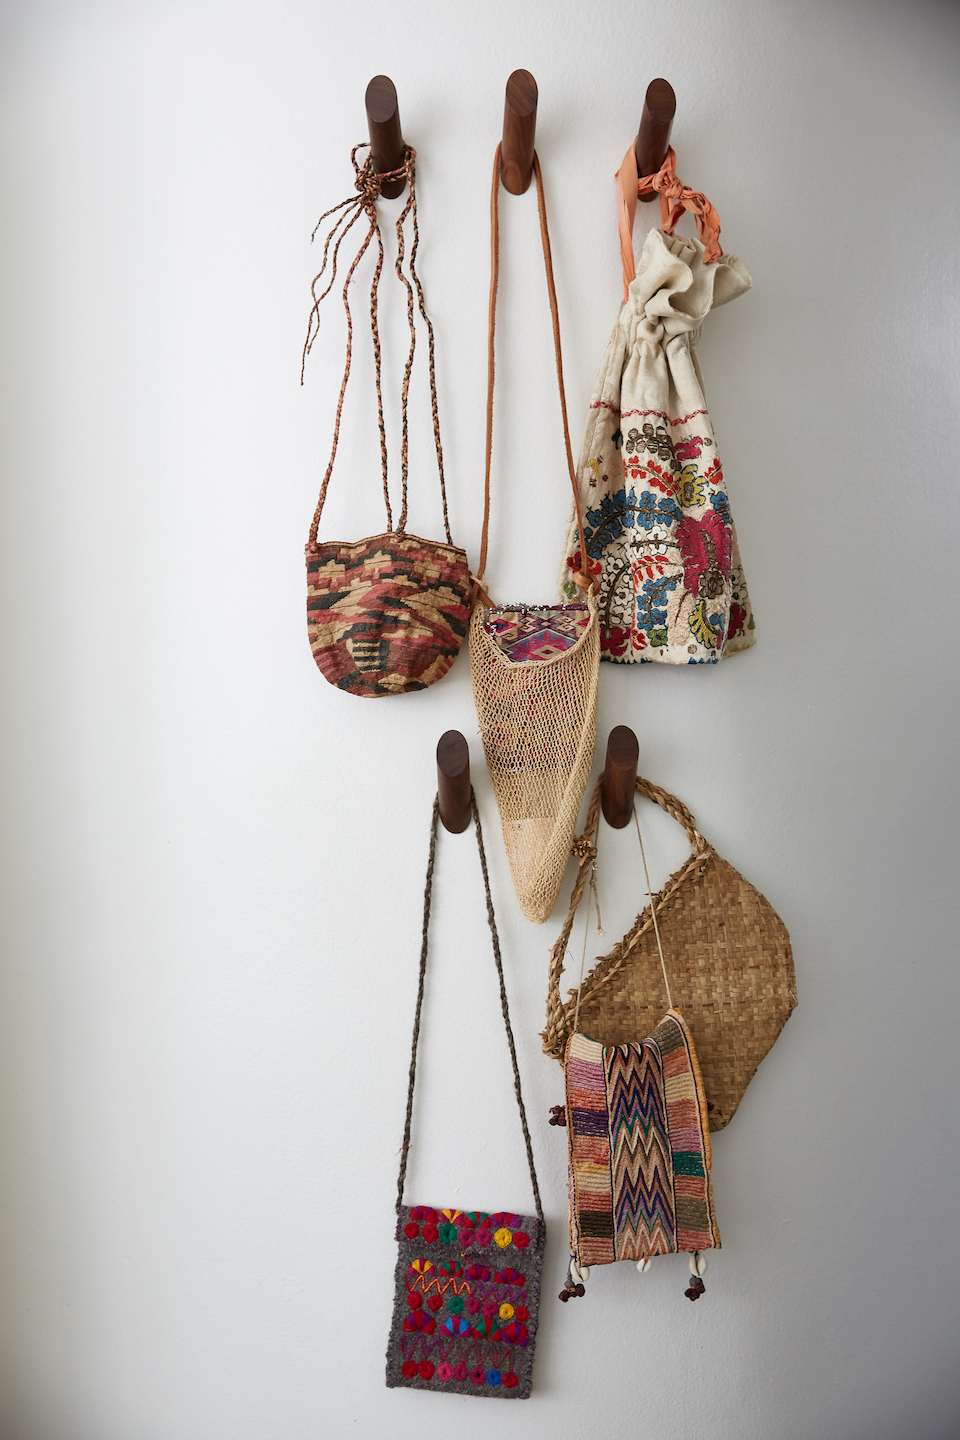
Bins with lid // Hang tags // Fine tip sharpie // Hangers // Hanging Sweater Organizer // Wallnut Hooks // Bamboo Shoe Organizer
Want more closet tips? Follow me on Instagram @clutterhealing for more organization magic!